3 Tips for Practitioners to Improve Patients’ Contact Lens Fitting

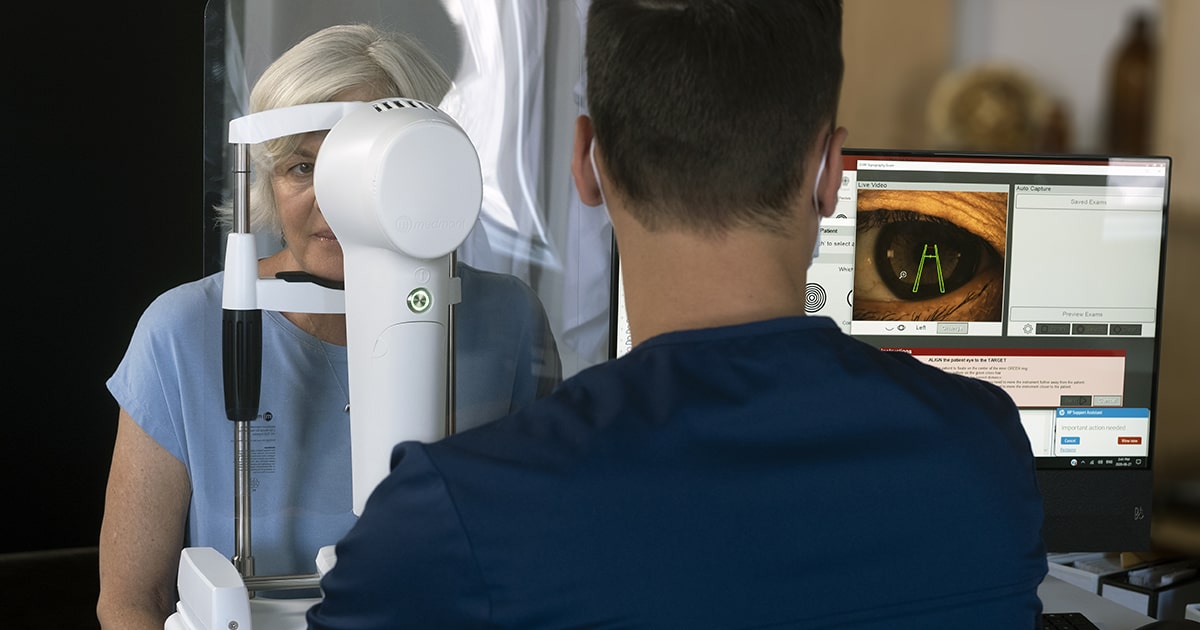
Are you struggling to get the best contact lens fitting for your patients? Whether you’re just launching your career or have built a successful, established practice, there’s always room to fine-tune your techniques. The next post in our Did You Know (DYK) series aims to help your patients see clearly using a corneal topographer for a more accurate fit the first time.
Did you know the image is key when performing a contact lens fitting using corneal topography? Take a look at these 3 tips for the best fit for your patients.

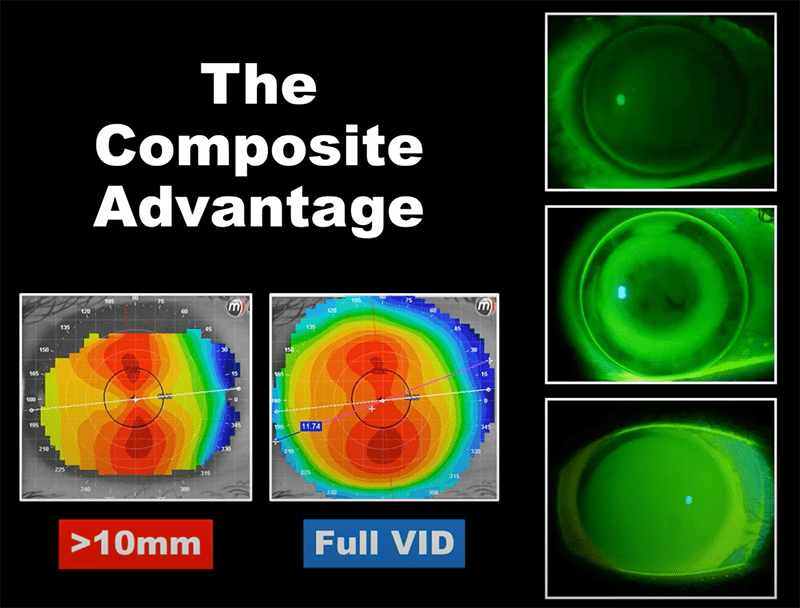
No. 1 – Skip the wizard and take advantage of composite imaging.
An imaging wizard is a great tool, but sometimes it’s necessary to fill in data gaps to get the best fit. Manually constructed composite eye imaging allows you to merge many different captures, giving you the flexibility to build the lens from edge to edge. To do so, manually map the eyes for baseline captures – visual axis, geometric capture, plus four maps on principle meridians, including nasal, temporal, inferior, and superior.
This process is beneficial for fitting ortho-k lenses or scleral lenses when you can’t get optimal coverage. For instance, a smaller-featured patient may not be able to open their eyes wide, or their lash rim may hinder the ability to obtain necessary data points on the parfocal cornea.
Dive into the composite image capture feature when building a specialty lens.

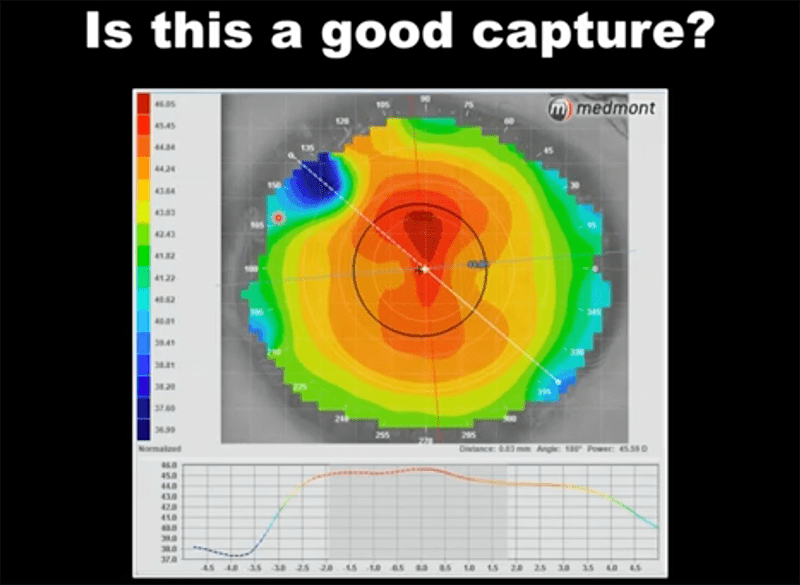
No. 2 – Correct lousy mapping.
Did you know you can use the medmont meridia™ Advanced Topographer contact lens software to correct errors in your mapping? For example, when you look at the captured images and see a deep area of flattening or a steep zone, it doesn’t necessarily mean that you have to scrap the image and start over. Use the “edit” function to bring up all data points and remove the inaccurate points to eliminate from the topography. Using this function leaves you with a more accurate eye shape map.
We’re throwing in a few bonus tips for capturing the best map without editing:
- Remind your patient to blink through the imaging process
- Use artificial tears to smooth the eye surface
- Slow down and take your time during the imaging
Take a peek at best practices for taking a topography.

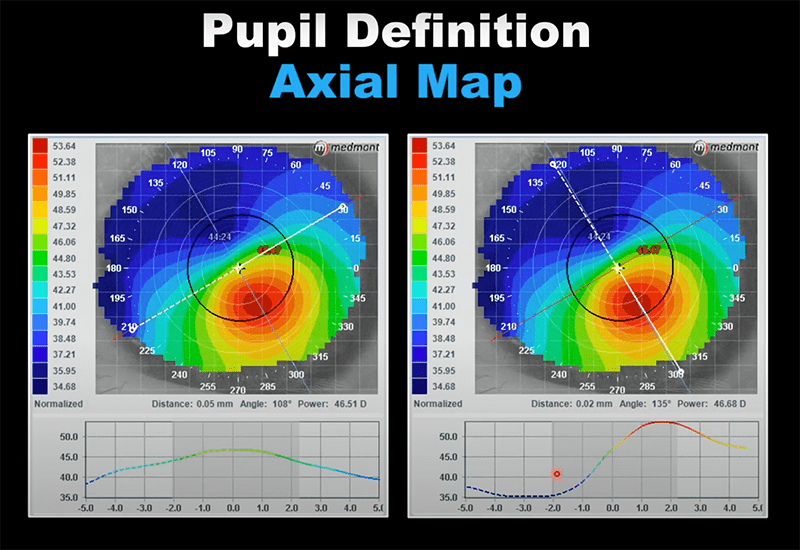
No. 3 – Don’t overlook the pupil and the iris.
It’s essential to find the diameter of the pupil to get the best fit for lenses. Ill-fitting lenses aren’t just uncomfortable; they can lead to infections or corneal abrasions. Accurately measuring the pupil, use an axial map to understand the distribution of power on the flat meridian and the vertical access. Some people have pupils that are harder to detect due to the deep hue of the iris.
We’ve got a tip for that.
Define the visible iris diameter (VID) using the annotate tool. This takes out the guesswork and allows you to get the correct fit the first time, ensuring optimal stability, centration, comfort, physiological response, and vision.
Here’s a quick 2-minute video on how to define the VID.
That’s a wrap.
Of course, we know these aren’t the only tips for an accurate contact lens fitting. What are some of your best tips for giving your patients an optimal fit? Share them and this post on your social channels using the links below. While you’re there, please give us a follow on LinkedIn and Facebook for more #DYK tips. And if you’re in search of a new tool to optimize your optometry practice, schedule a demo of the medmont meridia™ Advanced Topographer today.
